<>
“`
Introduction: 3D Printed Moulds for Slab Built Ceramic Art!
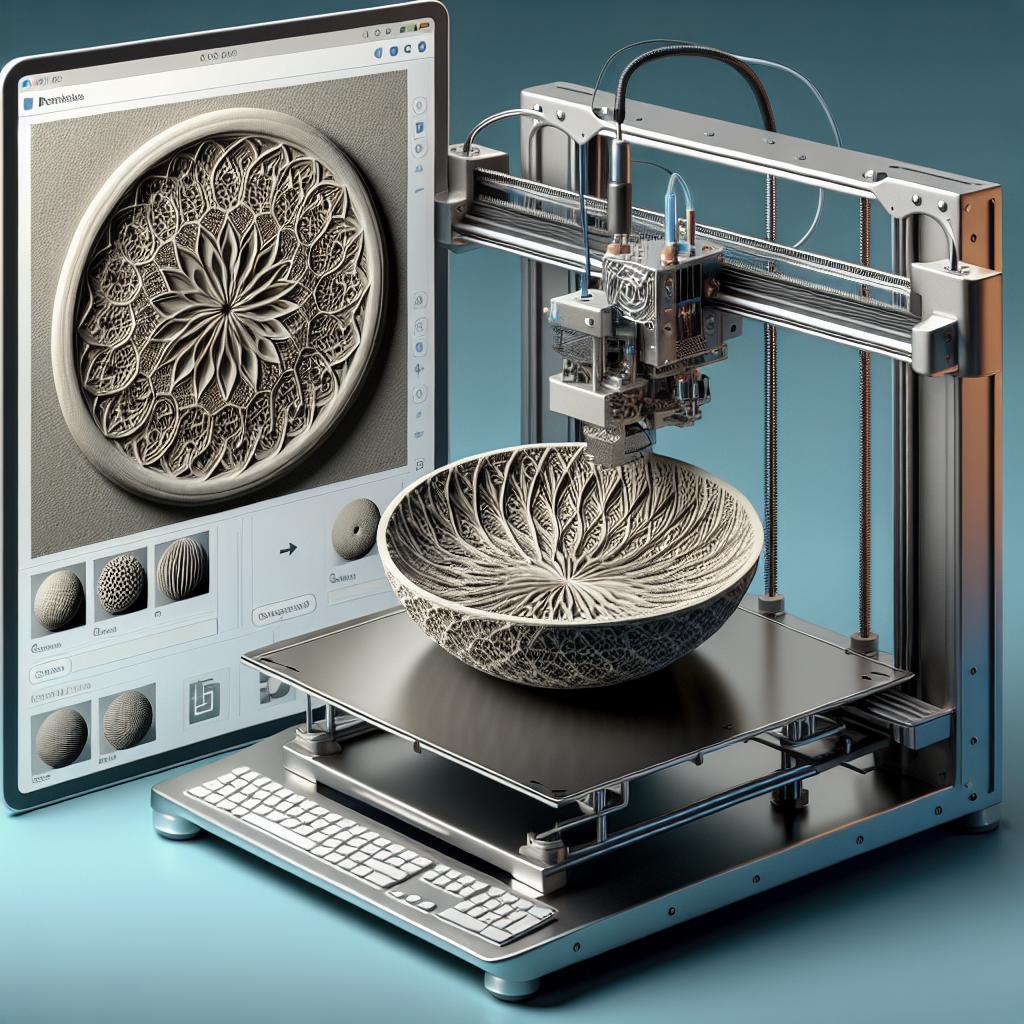
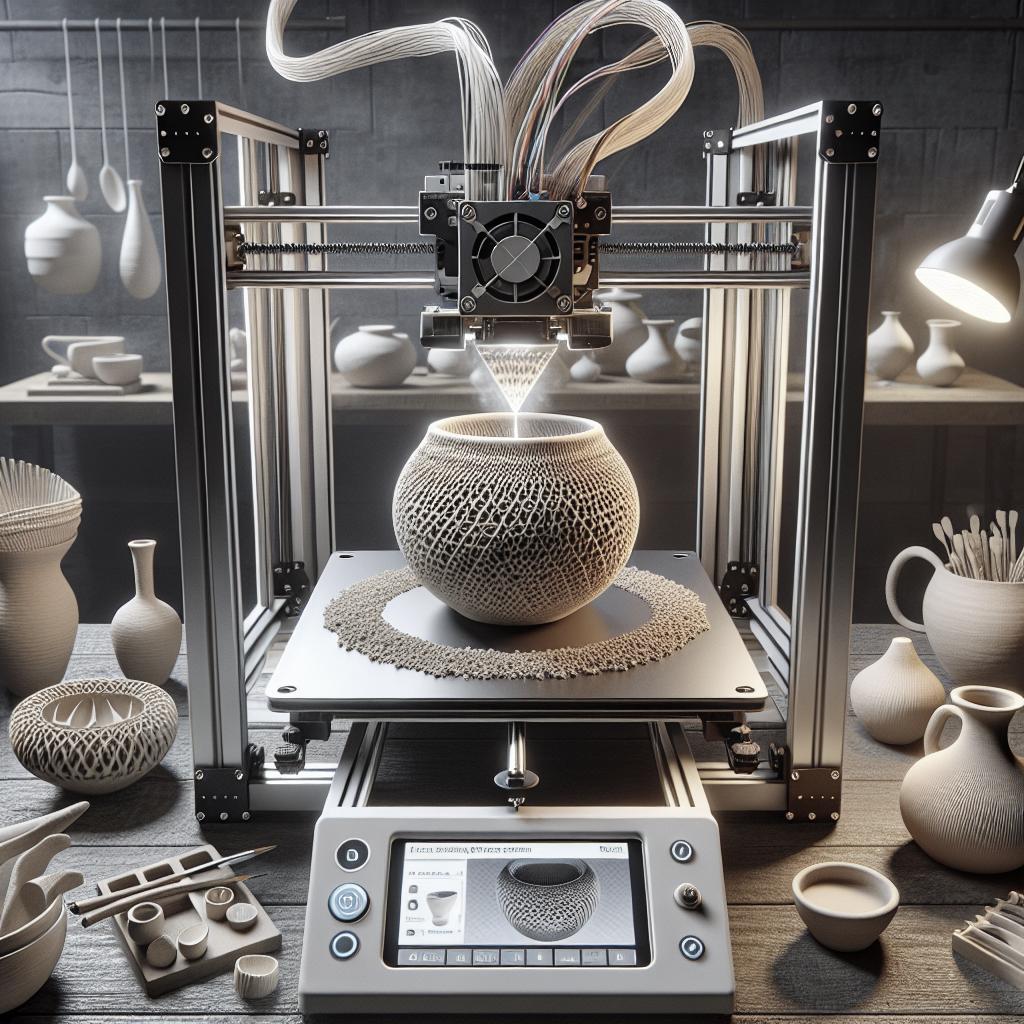
Welcome to the world of combining two exciting technologies: 3D printing and ceramics. This comprehensive guide will walk you through the step-by-step process of creating a 3D printed mould for a ceramic plate, from conceptualization to the final firing and finishing. If you have a basic understanding of 3D design software, 3D printing, and working with clay, you will find this instructable both enlightening and rewarding. Let’s dive into the supplies you’ll need and the procedures to follow for an impeccable ceramic creation.
Supplies
Before diving into the design and creation process, you must gather all necessary supplies for both 3D printing and ceramic work. Proper preparation ensures a smooth workflow and avoids any last-minute disruptions. Let’s break down what you’ll need to get started.
3D Printing Tools & Supplies:
To create a solid mould, you will require a well-maintained 3D printer, preferably one capable of high-resolution printing. Essential supplies include PLA or ABS filament, slicing software (like Cura or PrusaSlicer), and a sturdy build plate to ensure your prints come out perfectly. Additionally, a digital caliper can be beneficial for precise measurements and scaling.
Ceramics Tools and Supplies:
For the ceramic aspects, gather high-quality clay, a rolling pin for creating consistent slabs, slip for attaching pieces, and a variety of ceramic tools such as needle tools, sponge, and ribbing tools. Ensure you also have access to a kiln for the firing process. Safety gear like gloves and a dust mask will be necessary when working with clay and during the firing process.
This Instructable assumes at least a basic understanding of 3D design software, 3D printing, and working with clay.
With your supplies ready, you’re now prepared to start the first stage of the process. Ensure you have a grasp of the basic principles of 3D design software like Tinkercad or Fusion 360. Understanding your 3D printer’s function and maintenance, as well as having experience with clay handling and firing, will significantly ease the workflow.
Step 1: Planning Your Design
Begin by conceptualizing your ceramic plate. Sketch your ideas on paper or use 3D design software to create a digital version of your desired outcome. Consider elements like the plate’s shape, size, thickness, and any decorative details you want to incorporate.
Take this time to understand the shrinkage of your clay body. Different clays shrink at varying rates when fired, usually between 10-15%. Factor this into your design to ensure the final product meets your expectations.
Undercuts
Undercuts can be tricky in both 3D printing and ceramics. Ensure your design does not have complex features that can cause trouble in demoulding. Features like deep grooves or overhanging elements can break during the demoulding process or printing.
Simple, clean lines are often best for beginners. Use fillets and chamfers to create smooth transitions between the plate surfaces and edges, enhancing the overall structural integrity.
Slab Placement
When designing your mould, think about how your clay slab will sit within it. The mould should support the slab on all sides while allowing easy removal after the initial setting stage. Make sure the base plate of your design is flat and has sufficient support structures.
You might employ support pins or rails within the design to lift and separate different elements of your pieces. This will help in achieving crisp, defined edges on your final ceramic plate.
Demoulding
Plan how you will remove the clay from your mould. The mould design should not trap the clay, and it must ensure the easy extraction of the slab. Think about the draft angles in your mould design to facilitate demoulding.
Implementing slight tapering can ease the release process, preventing potential cracking or breakage while demoulding, and ensuring a clean, smooth slab surface.
Step 2: Designing Your Mould
Now, move from sketching to digital designing. Open your preferred 3D design software and start modeling your mould. Begin with basic shapes and extrude or cut as necessary to match your conceptual sketch. Remember to constantly compare with your initial sketches to maintain design integrity.
Include registration keys or alignment marks to help position the slabs correctly within the mould. These features ensure that the clay slab assumes the intended shape and doesn’t shift during the setting phase.
Step 3: Printing Your Mould Pieces
With the design finalized, prepare your 3D printer for the task. Ensure that your printer’s settings are optimized for high resolution and minimal layer height to capture detailed elements. The printing of the mould pieces may take several hours depending on the complexity and size of your design.
Make sure to scale up your print by 10-15%, depending on your clay body, to accommodate for shrinkage!!
Remember to factor in the clay’s shrinkage rate. Use the digital caliper to scale your model accordingly before sending it to the slicer. A 10-15% increase in the scale is typically adequate but always verify with a test print first.
Step 4: Preparing Your Clay
While your 3D printer is working, prepare your clay. Wedge the clay properly to remove air bubbles, enhancing its structural integrity. Roll out even slabs using your rolling pin, ensuring uniform thickness throughout.
Create multiple slabs and store them in a damp environment to prevent premature drying. This will offer flexibility when you start placing the slabs into the moulds.
Step 5: Preparing the Moulds
This step is not optional! Please do not skip it!
When the 3D print is complete, prepare the moulds by sanding any rough edges. Smooth out the surfaces to avoid transferring unwanted textures onto the clay. Consider applying a fine layer of mold release spray or wrap the mould with cling film to ease the demoulding process.
Step 6: Laying Your Slabs
Place your clay slabs into the mould carefully to avoid air bubbles. Use your fingers or a sponge to press the clay into the mould, ensuring it fills all contours and removes any trapped air.
This step requires patience and attention to detail. Proper slab placement ensures even thickness and reduces the risk of warping during the drying and firing stages.
Step 7: Assembling the Mould Pieces
Carefully assemble the mould pieces around your clay slabs. Use alignment marks or registration keys designed into the model to ensure proper positioning.
Clamp or bind the mould pieces together to hold them firmly in place. Let the clay set in the mould as per the clay manufacturer’s guidelines or your personal experience, keeping an eye on the drying process.
Step 8: Preparing Your Base/Handles
While the clay sets, you can prepare any additional components, such as a base for your plate or decorative handles. Design these elements in your 3D design software and print them, or create them directly from clay.
Attach these additional elements using slip once the primary slab has partially set but is still workable. This ensures a strong bond between the pieces.
Step 9: Take a Break!
With the main mould and the optional base or handles assembled, give yourself a break. Clay work requires waiting times, and this is an excellent opportunity to rest, hydrate, and plan the upcoming steps.
Step 10: Demoulding Your Piece
When the clay has sufficiently set, carefully remove the mould pieces. Begin by loosening any clamps or bindings and gently prying the mould pieces apart.
Take your time and be patient. Overzealous demoulding can result in cracked or deformed pieces. If the clay sticks to the mould, use a soft tool to coax it free gently.
Step 11: Attaching the Base (and Handles)
With the primary plate structure free from the mould, attach your pre-prepared base and handles. Score and slip both the plate and the base/handle where they will connect.
Press the pieces together firmly to secure a good bond, and use additional slip to smooth out any seams or connections.
Step 12: Final Clean Up and Smoothing
With all elements attached, perform a final inspection and smoothing. Use a damp sponge or fine tools to remove any rough spots, fingerprints, or undesired textures.
Rest assured, you’re about to show those layer lines who’s boss.
This step is critical, as it will determine the final aesthetics of your ceramic plate. Make sure to ensure all surfaces are smooth and uniform.
Step 13: Firing and Finishing Your Clay Creation
After completing the assembly and smoothing, let your clay piece dry slowly to prevent cracking. Once thoroughly dry, it’s ready for the bisque firing, typically at a temperature of 800-1000 degrees Celsius.
After the bisque firing, apply your chosen glaze, and fire once again to achieve a vitrified, finished ceramic plate. Follow your kiln’s instructions and safety guidelines closely throughout the firing processes.
Congratulations! You have successfully turned a digital design idea into a physical clay creation!
Thank you again for coming on this adventure with me!
Turning a digital design into a physical ceramic piece showcases the synergy between modern technology and traditional craft, providing endless possibilities for creativity. I hope you found this guide useful and that your ceramic journey continues to be fulfilling!
| Steps | Details |
|---|---|
| Introduction | An overview of the process and required skills. |
| Supplies | List of necessary 3D printing and ceramics tools and materials. |
| Step 1: Planning Your Design | Conceptualizing and sketching the ceramic plate design. |
| Undercuts | Avoiding complex features and creating smooth transitions. |
| Slab Placement | Ensuring the even placement of clay slabs within the mould. |
| Demoulding | Planning for easy removal of clay from the mould. |
| Step 2: Designing Your Mould | Creating a digital version of the mould using 3D design software. |
| Step 3: Printing Your Mould Pieces | Printing the mould pieces and scaling them up to account for clay shrinkage. |
| Step 4: Preparing Your Clay | Wedging and rolling out even clay slabs. |
| Step 5: Preparing the Moulds | Smoothing and prepping the 3D printed mould for clay placement. |
| Step 6: Laying Your Slabs | Placing clay slabs into the mould and smoothing out air bubbles. |
| Step 7: Assembling the Mould Pieces | Aligning and securing the mould pieces to allow the clay to set. |
| Step 8: Preparing Your Base/Handles | Designing and creating additional elements for the plate. |
| Step 9: Take a Break! | Allowing the clay to set while taking a break. |
| Step 10: Demoulding Your Piece | Carefully removing the set clay from the mould. |
| Step 11: Attaching the Base (and Handles) | Securing additional elements using slip and ensuring strong bonds. |
| Step 12: Final Clean Up and Smoothing | Smoothing and refining the final clay piece. |
| Step 13: Firing and Finishing Your Clay Creation | Firing the clay in a kiln and applying glaze. |
Thank you again for coming on this adventure with me!
“`


