<>
A Quick Answer
Cleaning a 3D printer, particularly the print bed, is crucial for maintaining the quality of your prints and the longevity of your machine. It involves regular, gentle cleaning using a plastic scraper for minor debris and deeper cleaning with isopropyl alcohol or other specialized cleaning agents for tougher residues. Proper maintenance prevents issues like failed print attachments, reduced print quality, and potential clogs. This guide delves into the importance, frequency, methods, tools, and safety tips for keeping your 3D printer bed in optimal condition.
Introduction
A clean 3D printer bed is essential for successful printing. Regular maintenance not only enhances print quality but also extends the life of your 3D printer. This post will guide you through the reasons why cleanliness is crucial, how often you should clean your printer bed, and the best methods and tools for the job. Whether you’re dealing with minor debris or stubborn residues, this comprehensive guide has got you covered. Additionally, we’ll explore the right cleaning agents, safety tips, and answer frequently asked questions about 3D printer maintenance.
Problems Caused by Dirty 3D Printer Beds
1. Failed Print Attachments
One of the primary issues arising from a dirty 3D printer bed is failed print attachments. Residues and debris can prevent the filament from properly adhering to the print bed, leading to shifting or even detachment during printing. This can result in wasted material and time, as prints may need to be restarted multiple times to achieve proper adhesion. Another consequence of poor bed hygiene is warping. When the initial layer doesn’t stick well to the bed, the corners of the print may curl up, especially with materials like ABS. Regular cleaning ensures a smoother and more reliable printing process by maintaining optimal adhesion.
2. Reduced Print Quality and Strength
A dirty print bed can compromise the aesthetics and strength of your 3D prints. Contaminants such as oils from fingerprints or remnants of previous materials can cause texture defects or layer inconsistencies. These imperfections not only affect the appearance of the print but can also weaken its structural integrity. To maintain high print quality, it’s critical to ensure that the print bed is free of any substances that could interfere with the filament deposition. Cleanliness results in smoother layers, sharper details, and stronger bonds between layers, leading to more durable and professional-quality prints.
3. Gradual Printer Part Clogs
Over time, debris from a dirty print bed can migrate to other parts of the printer, potentially causing clogs. Particles can find their way into the extruder, nozzle, or other moving parts, disrupting the flow of the filament and leading to print failures or errors. This can necessitate extensive cleaning or replacement of printer components. Regular cleaning of the print bed minimizes the risk of such clogs by reducing the presence of contaminants that could affect the printer’s mechanical functions. Investing time in bed maintenance can save you from more extensive and costly repairs down the line.
4. Premature Print Bed Replacement
Neglecting to clean the print bed can lead to long-term damage, resulting in the need for premature replacement. Continuous printing on a dirty surface can cause scratches, permanent stains, or other forms of deterioration that render the bed unusable. This not only increases maintenance costs but also affects the printer’s efficiency and performance. By maintaining a clean print bed, you can extend its lifespan and ensure that it remains in good condition for longer. Proper care and maintenance keep your 3D printer running smoothly and preserve the quality of your prints.
How Often to Clean the 3D Printer Bed?
The frequency of cleaning your 3D printer bed depends on how often you use the printer and the types of materials you work with. For frequent users or those printing with materials prone to leaving a residue, it’s advisable to clean the bed after every couple of prints. This practice helps to remove any build-up before it becomes a significant issue. For occasional users or those working with less contaminating materials like PLA, cleaning the bed once a week or even after ten prints can be sufficient. Monitoring the print quality and condition of the bed will help you determine the optimal cleaning schedule. Regular inspections are also key. A quick visual check before starting a print can help you decide whether a cleaning session is necessary. Staying consistent with cleaning routines ensures that minor debris does not build up over time, causing more substantial problems.
Using a Plastic Scraper for Regular 3D Printer Bed Cleaning
1. Gentle Cleaning Steps
Using a plastic scraper is one of the simplest and most effective ways to keep your 3D printer bed clean. Start by allowing the print bed to cool completely to avoid any risk of burns or warping of the bed material. Gently slide the plastic scraper underneath any residue or remaining filament from previous prints, applying minimal pressure to avoid scratching the surface. It’s important to perform this cleaning regularly, especially after each print, to prevent the accumulation of debris. Regular light cleaning can often eliminate the need for more intensive cleaning processes, saving you time and effort in the long run.
2. Dealing with Stubborn Debris
When dealing with more stubborn debris that doesn’t come off easily with gentle scraping, you might need to use a slightly more aggressive technique. Applying a mild amount of pressure, with controlled movements, can help lift tougher residues. However, it’s crucial to take care not to damage the print bed surface. In some cases, it may be beneficial to soften the debris with a bit of water or a safe cleaning agent, easing the removal process. This combined approach ensures that even the most resistant materials are removed without causing harm to the bed.
Deeper Cleaning Process: When and How?
1. Tackling Hard-to-Remove Residues
At times, a deeper cleaning process is required, especially if residues have hardened or if previous prints have left significant deposits. Periodically, it’s advisable to remove the print bed and give it a detailed cleaning. This involves soaking in a solution of warm water and mild detergent to loosen the debris without damaging the bed. After soaking, a gentle scrub with a soft cloth or sponge can help remove any remaining residues. Avoid using abrasive materials that could scratch the bed. Always ensure the bed is completely dry before reinstallation to prevent moisture-related issues.
2. Removing Stains with Isopropyl Alcohol
For persistent stains and residues that regular cleaning hasn’t addressed, isopropyl alcohol (IPA) is an excellent solution. IPA is effective at dissolving oils and contaminants, ensuring a pristine surface. To clean with IPA, dampen a microfiber cloth with the alcohol and gently wipe the bed, allowing the solvent to break down any residues. This method is particularly beneficial for removing fingerprints or oil-based contaminants that might affect print adhesion. Always ensure proper ventilation when using IPA and use it sparingly to prevent any potential damage to the bed’s surface.
Choosing the Right Cleaning Agents and Tools
Selecting the appropriate cleaning agents and tools is vital for effective and safe maintenance of your 3D printer bed. Plastic scrapers are excellent for everyday debris removal due to their gentle yet effective nature. For deeper cleans, microfiber cloths are ideal since they are soft and minimize the risk of scratching the bed. In terms of cleaning agents, avoid harsh chemicals that could damage the print bed. Mild detergents and isopropyl alcohol at concentrations of 70% to 90% are reliable choices for removing greases and stains. Avoid acetone unless specified by the manufacturer, as it can be too harsh for some bed surfaces. It’s also wise to keep a set of dedicated cleaning tools solely for your 3D printer. This reduces the risk of cross-contamination from other household cleaning tasks, ensuring a more hygienic and targeted maintenance routine.
Safety Tips for Repair and Maintenance
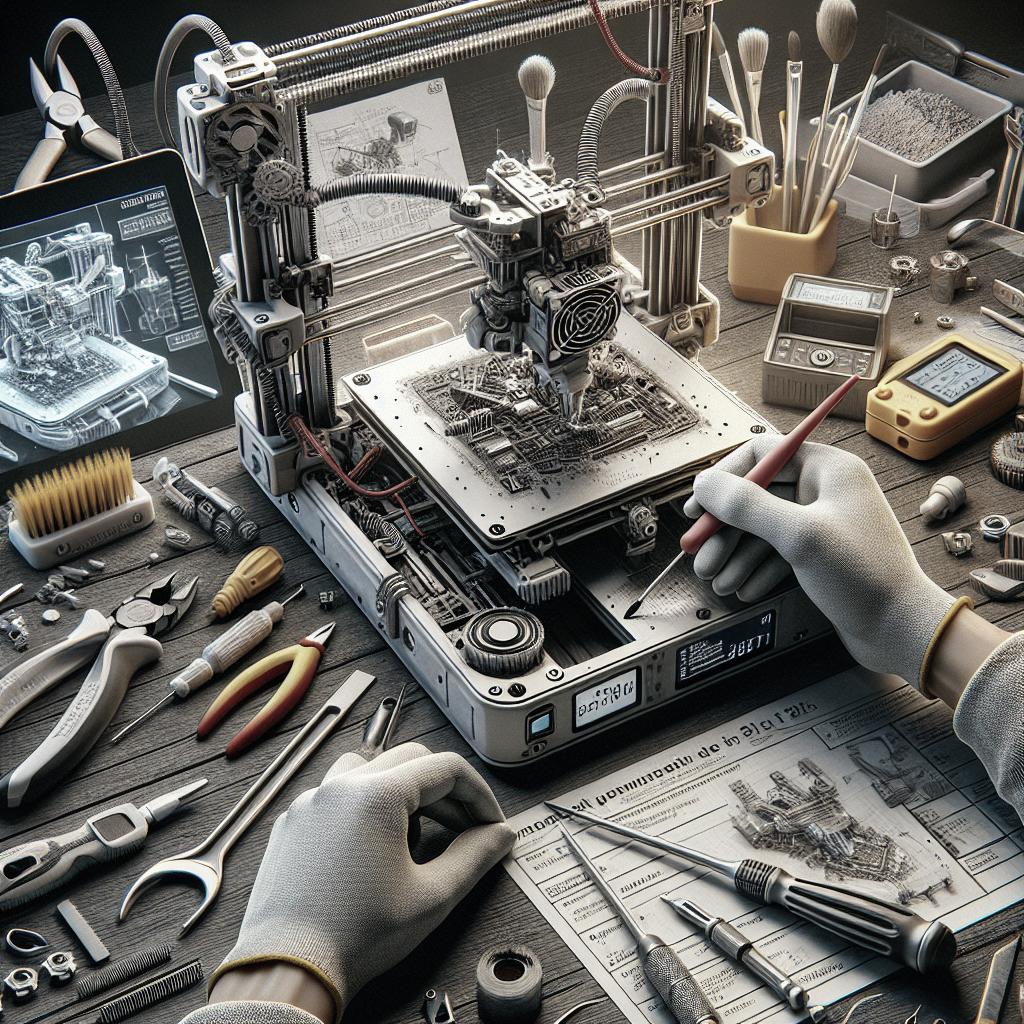
Safety should always be a priority when cleaning and maintaining your 3D printer. Before starting any cleaning process, turn off and unplug the printer to avoid any electrical hazards. Let the bed cool down to room temperature to prevent burns or warping. When using chemicals like isopropyl alcohol, ensure good ventilation to avoid inhaling fumes. Wear gloves when necessary to protect your skin from irritants, and handle all tools carefully to prevent accidental injuries. Always consult the printer’s manual or manufacturer’s guidelines before using any new cleaning products or tools. Following these precautions helps maintain a safe working environment while increasing the effectiveness of your cleaning routine.
Don’t Overlook Proper Print Bed Cleaning for Optimal Printing
Maintaining a clean print bed is non-negotiable for achieving high-quality prints and maintaining your printer’s longevity. Regular cleaning prevents common printing issues, such as print detachment, defects, and mechanical clogs. By incorporating both regular and deep cleaning into your maintenance routine, you ensure consistent print quality and avoid unnecessary wear and tear on your equipment. Neglecting this simple yet essential task can lead to significant deterioration of both your prints and your 3D printer. With the right tools, agents, and methods, effective print bed cleaning can become an easy and routine part of your 3D printing workflow.
FAQs on Cleaning a 3D Printer Bed
1. Can I use rubbing alcohol to clean the 3D printer bed?
Yes, rubbing alcohol, specifically isopropyl alcohol (IPA), is highly effective for cleaning 3D printer beds. It can remove oils and contaminants that might interfere with print adhesion. Aim for a concentration of 70% to 90% for best results, and use it sparingly to avoid potential damage.
2. Do I need to clean my 3D printer after every print?
It’s not strictly necessary to clean the 3D printer bed after every print, but doing so after every few prints can prevent residue build-up. Regular monitoring and minor cleaning can ensure that the printer bed remains in good condition, thereby avoiding more intensive cleaning measures.
3. Can I use acetone to clean the 3D printer bed?
Acetone can be a powerful cleaning agent but should be used with caution. It’s very effective at dissolving certain types of residues like ABS but can also damage some print bed surfaces. Always refer to the printer’s manual or manufacturer’s guidelines before using acetone to ensure it’s safe for your specific print bed.
4. What is the best cleaner and cloth to clean a 3D printer bed?
Isopropyl alcohol is widely considered the best cleaner for 3D printer beds due to its efficacy in removing oils and residues without leaving streaks. Pair this with a microfiber cloth, which is soft enough to prevent scratches while being effective at lifting dirt and contaminants.
5. How do I keep my 3D printer dust-free?
To keep your 3D printer dust-free, cover it with a dust cover when not in use, and regularly clean the surrounding area to minimize airborne particles. Using a can of compressed air can help to gently blow away dust from hard-to-reach places without damaging any components.
Further Reading
For those interested in diving deeper into the world of 3D printing maintenance, here are some additional resources: – “3D Printing Failures: How to Diagnose and Fix All 3D Printing Issues” by Sean Aranda – “The 3D Printer Handbook: Technologies, Design and Applications” by Ben Redwood – Popular 3D printing forums and community sites like Reddit’s r/3Dprinting or the Official Prusa Printers Forum
Lessons Learned
| Aspect | Summary |
|---|---|
| Importance of Cleaning | Essential for maintaining print quality and printer longevity. |
| Problems of Dirty Beds | Causes failed attachments, reduced quality, clogs, and premature replacement. |
| Cleaning Frequency | Depends on usage; regular light cleaning often suffices. |
| Plastic Scraper Use | Effective for gentle, regular debris removal. |
| Deeper Cleaning | Necessary for stubborn residues; involves soaking and IPA use. |
| Cleaning Agents and Tools | Use mild detergents, IPA, plastic scrapers, and microfiber cloths. |
| Safety Tips | Turn off and unplug printer, ensure proper ventilation, handle tools carefully. |
| FAQs | Covers common questions about cleaners, frequency, and materials. |


